Introduction
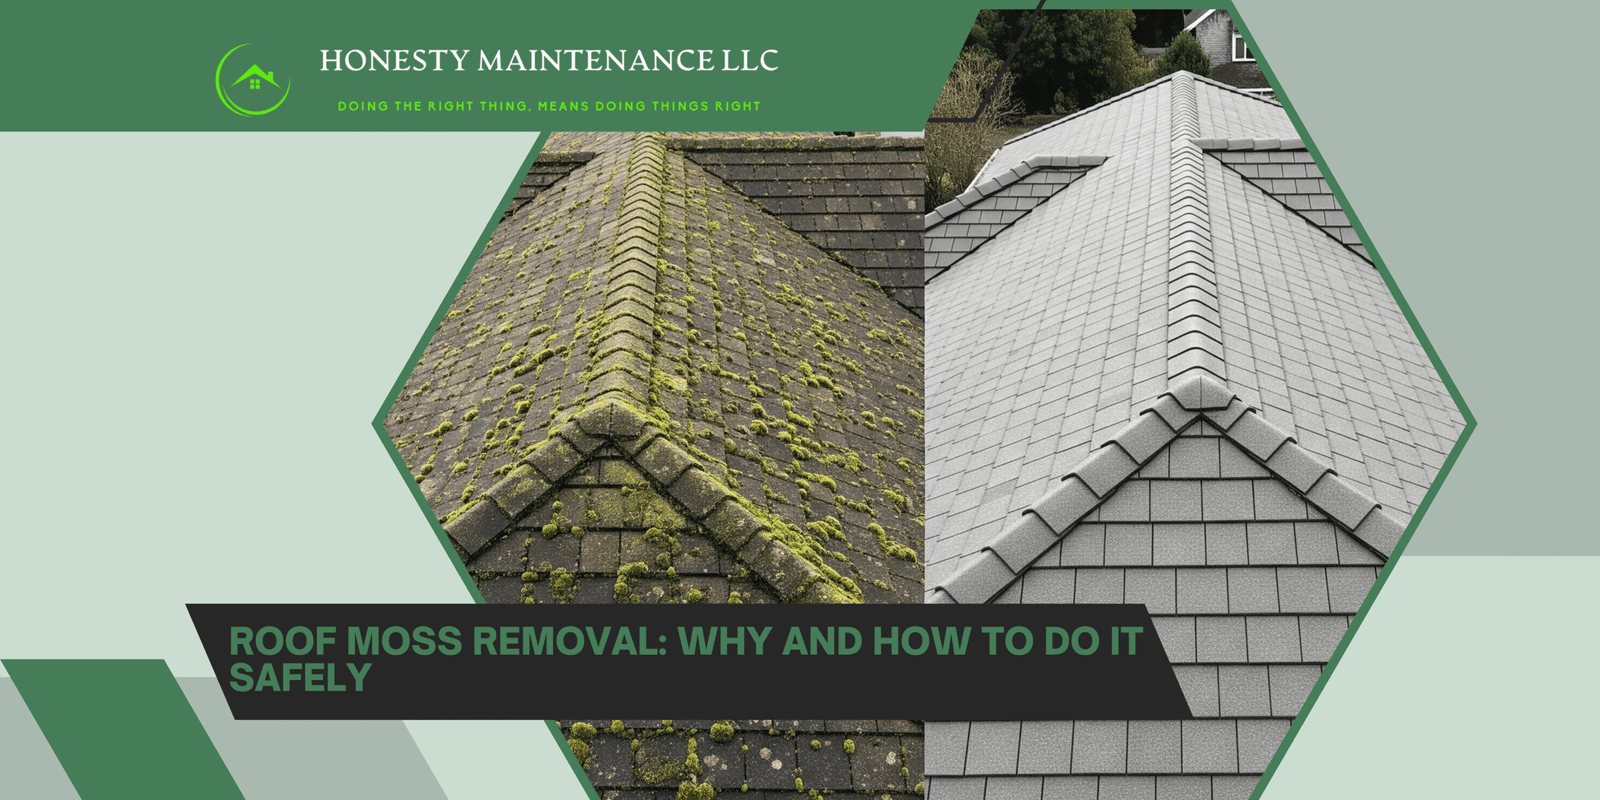
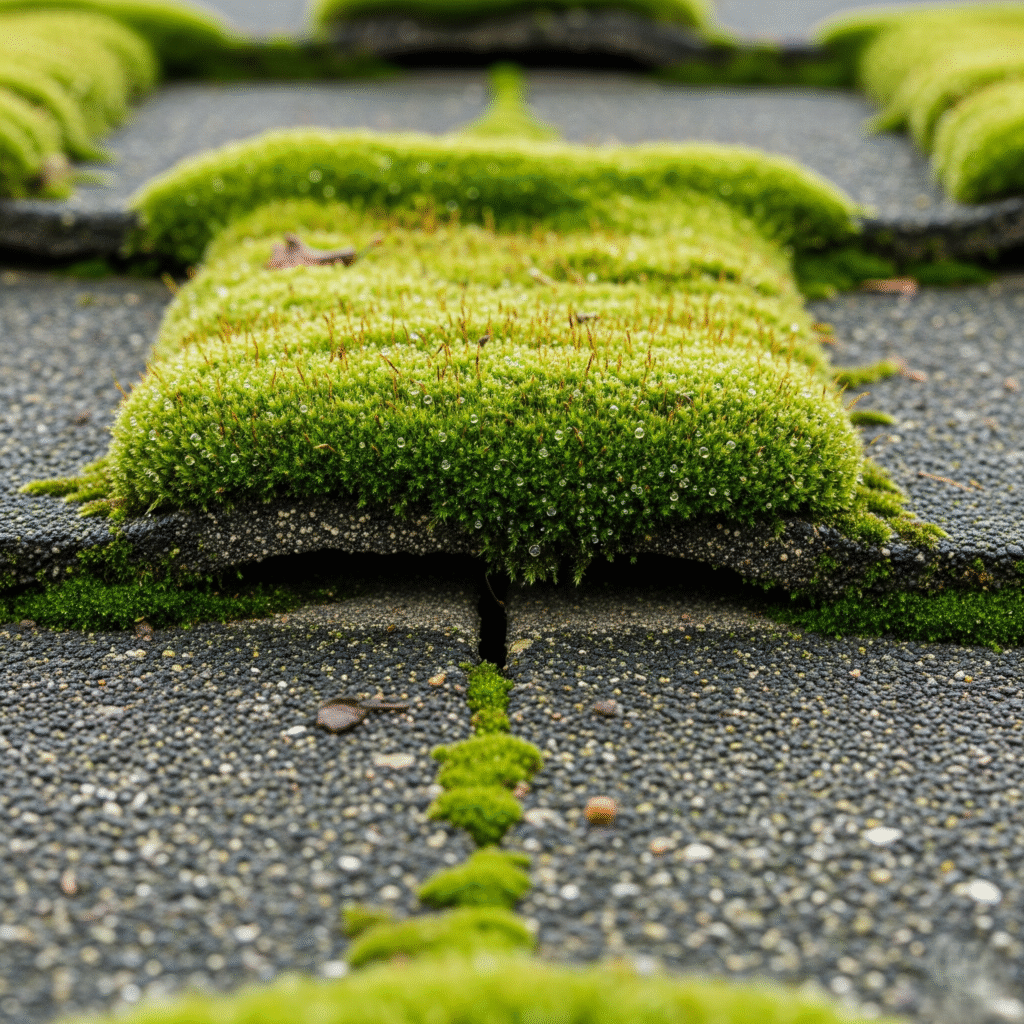
Moss growth on roofs may seem harmless, even charming, but it can quickly become a serious problem. Beyond the green, fuzzy appearance, moss can damage roofing materials, shorten the roof’s lifespan, and lead to costly repairs. If left untreated, it can also create water retention issues, increasing the risk of leaks and structural damage.
This guide explains why roof moss removal is important and how to do it safely, ensuring your roof stays strong, durable, and visually appealing.
Why Roof Moss Removal Matters
1. Prevents Roof Damage
Moss retains moisture, which seeps into shingles and roofing materials. Over time, this moisture can cause shingles to warp, crack, or lift, compromising the roof’s protective layer.
2. Extends Roof Lifespan
A clean roof can last years longer than one plagued by moss. Regular moss removal prevents early deterioration, helping homeowners avoid costly roof replacements.
3. Improves Home Appearance
Curb appeal matters, especially when selling a home. A moss-free roof instantly makes your home look cleaner and well-maintained, increasing property value.
4. Prevents Mold and Algae Spread
Moss encourages damp conditions where mold, algae, and fungi thrive. This not only harms your roof but can also impact the air quality inside your home.
When to Remove Moss from Your Roof
Roof moss is best removed during dry weather conditions, ideally in late spring or early summer. At this time, moss is actively growing, but easier to remove without risk of slipping on a wet roof.
Safe Methods for Roof Moss Removal
1. Manual Removal (Gentle Brushing)
- Use a long-handled, soft-bristle brush.
- Gently sweep moss downwards (never upwards) to avoid lifting shingles.
- Avoid aggressive scrubbing, which can damage roofing materials.
Pro Tip: Work from the top down to prevent shingle damage.
2. Using Moss Killers (Eco-Friendly Options)
Instead of harsh chemicals, use vinegar solutions or baking soda for an eco-friendly approach:
- Mix equal parts vinegar and water in a spray bottle.
- Apply directly to moss and let it sit for 20–30 minutes.
- Rinse gently with a garden hose.
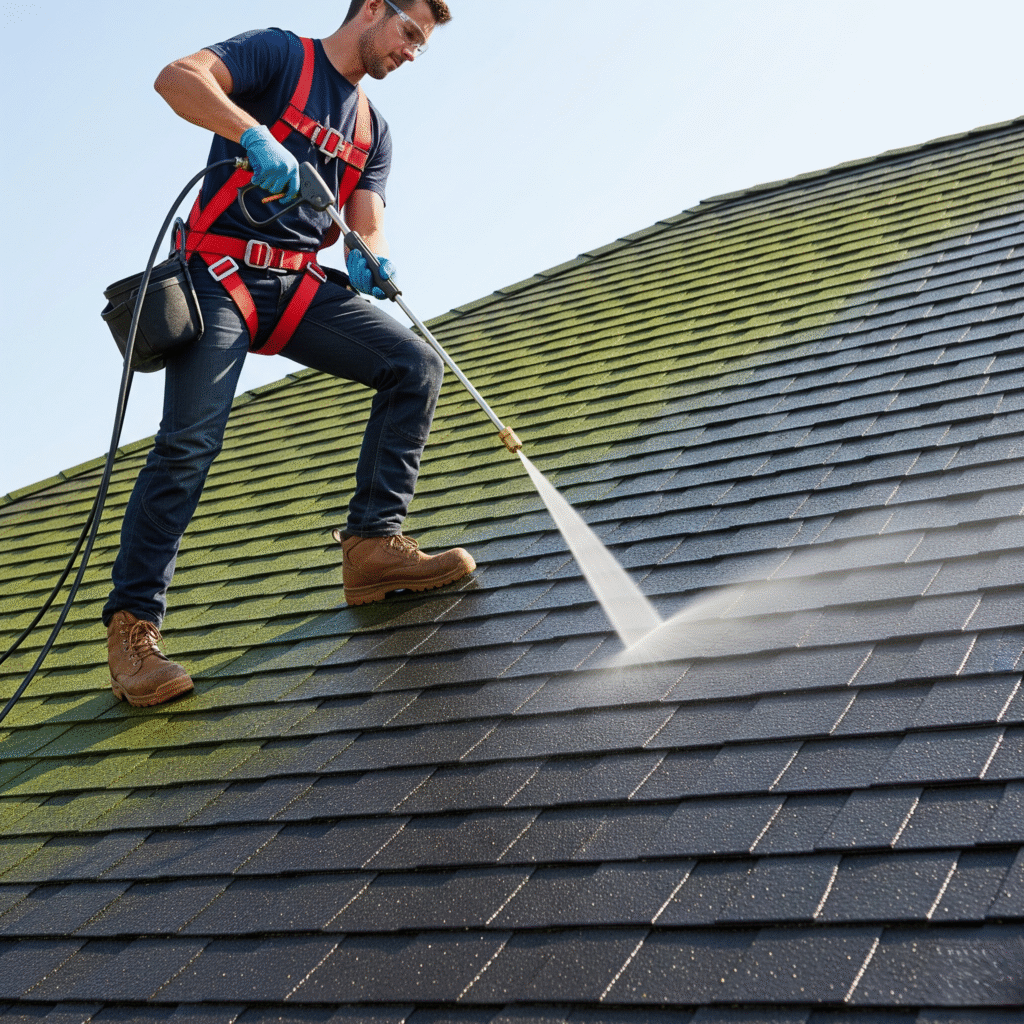
3. Professional Roof Cleaning
For larger infestations or steep roofs, hiring professionals is the safest option. They have the right tools, safety gear, and moss-killing treatments that protect shingles.
What NOT to Do When Removing Moss
- Avoid Pressure Washing: High-pressure water can strip away shingle granules and reduce roof lifespan.
- Don’t Use Bleach Excessively: While bleach kills moss, it can damage roofing materials and harm plants around your home.
- Never Pry Moss Off: Pulling moss forcefully can damage the protective layers of your roof.
Preventing Moss from Returning
1. Install Zinc or Copper Strips
These metals release ions during rain that naturally inhibit moss growth. Install them near the roof ridge for maximum coverage.
2. Improve Roof Sunlight Exposure
Trim overhanging branches to allow more sunlight to reach your roof, reducing the damp conditions moss thrives in.
3. Maintain Roof Drainage
Ensure gutters and downspouts are clean to prevent water pooling, which encourages moss growth.
Cost of Roof Moss Removal
Professional roof moss removal costs vary based on roof size, accessibility, and severity of moss growth. On average, it can range from $200 to $700. Preventive treatments and regular inspections can save you thousands in future repairs.
Final Thoughts
Roof moss may look like a minor cosmetic issue, but it poses serious risks to your home’s structure and value. Whether you choose DIY methods or hire a professional, safe and timely moss removal is essential for maintaining a strong, long-lasting roof. Contact us today!